IKEA Kitchen Design & Planning | Georgia Home Design Portfolio
Expert IKEA kitchen layout planning — from the Rubik's cube of the kitchen planner to a professional, buildable design. For DIYers who need the blueprint.
Georgia
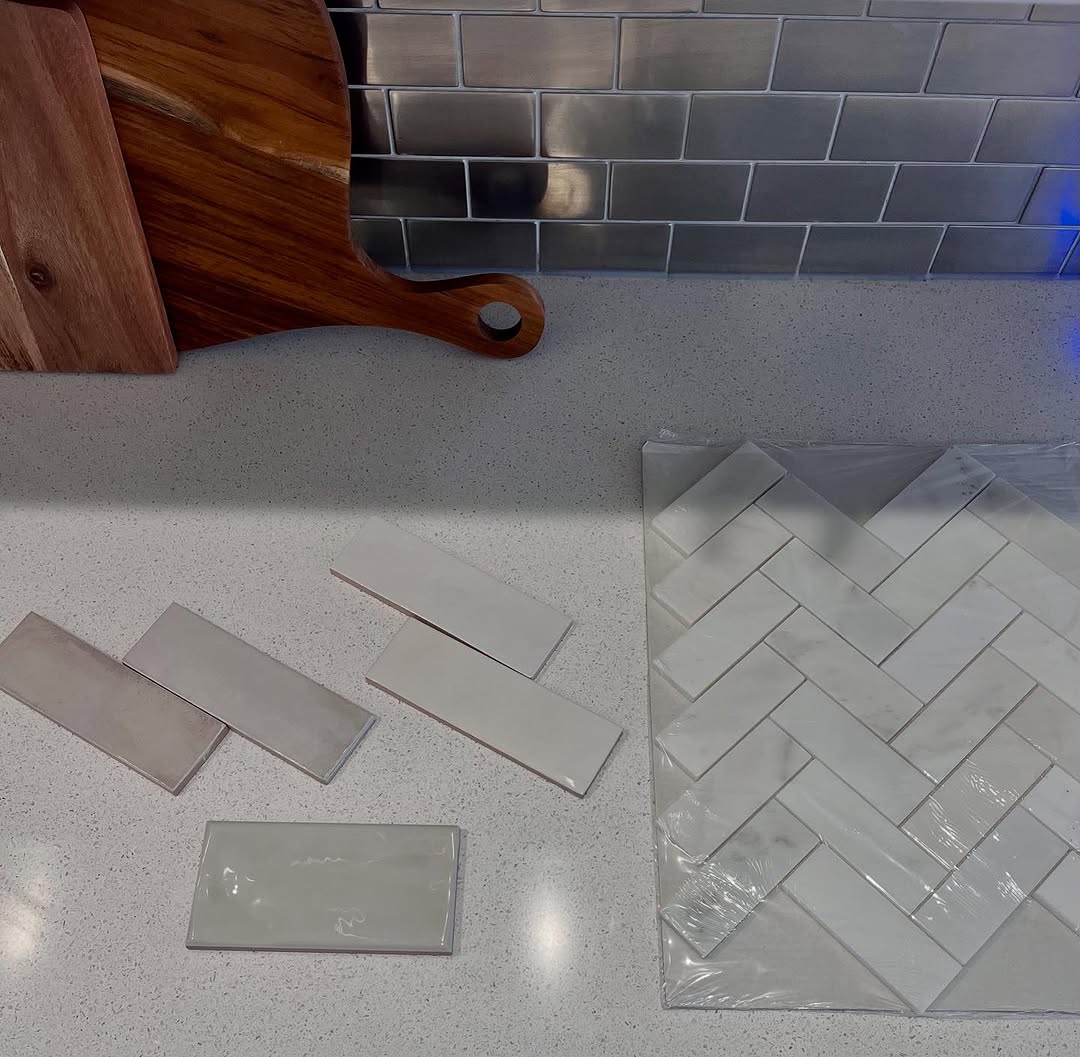
IKEA Kitchen Design & Planning
Staring at the IKEA kitchen planner and feeling like you are solving a Rubik’s cube? We get it.
Designing your dream kitchen should be exciting, not a headache. If you are handy enough to handle the build but the layout has you stuck, we are here to bridge the gap. Our in-house IKEA expert knows every cabinet size, corner solution and hack in the book.
What We Offer
- Expert Layouts — For DIYers who just need the blueprint
- Licensed Pros — For a flawless, stress-free install
- Finishing Touches — Designer-led styling for that custom look
Whether you just need a professional layout or a full-service experience, we have got your back.
Why IKEA Kitchens Are Worth the Effort
IKEA cabinet boxes are among the best value in the market. The SEKTION system uses sturdy particleboard with a melamine coating that holds up well to daily kitchen use, and the modular sizing means there is a configuration for almost any space. The savings compared to custom cabinetry are significant — often 40 to 60 percent less — which frees up budget for nicer countertops, hardware, or appliances.
The catch is that designing an IKEA kitchen requires understanding the system’s constraints. Cabinets come in fixed widths (15, 18, 24, 30, and 36 inches being the most common), and the planner software assumes you know how fillers, cover panels, and toekicks work together. That is where most DIYers get stuck.
Common IKEA Kitchen Planning Mistakes
Ignoring Filler Strips
IKEA kitchens rarely fit wall-to-wall without filler pieces. A 10-foot wall, for example, cannot be filled perfectly with standard cabinet widths. You need filler strips at corners, next to walls, and beside appliances. Forgetting to account for these leads to gaps, misaligned doors, or cabinets that cannot open fully.
Skipping the Corner Cabinet Math
Corner cabinets are the trickiest part of any IKEA kitchen plan. The blind corner base cabinet needs a specific amount of pull-out clearance (usually 5 inches minimum from the adjacent wall). Getting this wrong means drawers or doors that collide. We map every corner dimension before anything goes into the planner.
Forgetting About Plumbing and Electrical
The IKEA planner does not know where your plumbing stack, electrical outlets, or gas line sit. A cabinet that looks perfect in the software might land right on top of a drain pipe. We measure and mark every utility location during the initial site visit so the design works in real life, not just on screen.
Tips for Getting the Most Out of an IKEA Kitchen
Upgrade the drawer hardware. IKEA’s soft-close MAXIMERA drawers are good, but the standard UTRUSTA hinges are worth upgrading to the soft-close version on every door. The cost difference is small and the daily quality-of-life improvement is noticeable.
Use custom fronts if budget allows. Companies like Semihandmade andDERA make high-end door fronts that fit IKEA cabinet boxes. You get the IKEA price on the structure with a custom look on the outside.
Plan for lighting early. Under-cabinet lighting (IKEA’s OMLOPP or third-party LED strips) should be decided before the cabinets go in, because you need wiring routed during construction. Retrofitting under-cabinet lights after installation is messy and often visible.
Measure twice, order once. IKEA kitchens arrive flat-packed and returns are tedious. A professional layout review before you place the order catches errors that would otherwise cost you a second trip and a week of waiting.
Ready to stop clicking and start cooking? Reach out and let us turn that planner headache into a buildable design.
Our Rigorous Testing & Review Methodology
At georgiahomedesign.ca, we take our responsibility to our readers seriously. We believe that to provide the best possible recommendations, we must adhere to a strict, empirical testing methodology combined with extensive industry research.
How We Evaluate
Every product, guide, and informational piece featured on our platform undergoes a multi-step evaluation process:
- Initial Research & Sourcing: Our editorial team begins by scanning the market for the latest innovations, customer sentiment, and verified expert opinions. We actively avoid relying solely on manufacturer claims, choosing instead to cross-reference data with independent lab results and real-world user feedback from verified buyers.
- Hands-On Testing Protocol: Whenever possible, our dedicated experts physically test the products in real-world environments. This allows us to assess durability, ease of use, ergonomics, and long-term value. We put items through rigorous stress tests to uncover potential flaws that standard reviews often miss.
- Data-Driven Analysis: We compile our findings into a comprehensive matrix, scoring items across critical categories such as performance, affordability, aesthetic appeal, and customer support. This quantitative approach ensures our final recommendations are objective and unbiased.
- Continuous Monitoring: The market is always changing. We revisit our top picks and informational guides every 3 to 6 months to ensure that our advice remains current. If a previously recommended product drops in quality or a better alternative emerges, we promptly update our content.
Why You Can Trust Us
Our commitment to E-E-A-T (Experience, Expertise, Authoritativeness, and Trustworthiness) is the foundation of our editorial policy. We do not accept paid placements for our top recommendations. Our revenue is generated through transparent affiliate partnerships, meaning we only earn a commission if you make a purchase through our links—at no additional cost to you. This structure aligns our success directly with your satisfaction.
Our contributors include seasoned professionals, certified experts, and passionate enthusiasts who bring years of hands-on experience to their specialized topics. We mandate that all claims are backed by authoritative sources, which we link to whenever applicable.
If you ever have questions about our methodology or spot an inaccuracy, we encourage you to reach out via our Contact page. We are dedicated to continuous improvement and always welcome community feedback to refine our editorial standards.
Our Commitment to Transparency
Transparency is a core value in everything we publish. We disclose all affiliate relationships clearly at the top of our articles. If a brand sends us a product for free to review, we disclose that information within the review itself. However, accepting a free product never guarantees a positive review. Our allegiance is strictly to our readers. We regularly publish cautionary reviews for products that fail to meet our high standards, regardless of the brand’s industry standing or potential commission rates.
Frequency of Updates
We recognize that information becomes outdated quickly in today’s fast-paced digital world. Therefore, our team conducts quarterly audits of our most popular guides and reviews. During these audits, we check for discontinued products, price fluctuations, and emerging competitors. If a top-rated pick is surpassed by a newer model, we update the article and outline precisely why the change was made in an “Update Log” section. This dedication to freshness ensures that whenever you land on one of our pages, you are reading the most accurate and up-to-date information available.